
“It would be so great to be in the same room. This is much easier to sketch out on a whiteboard.”
A picture is worth a thousand words. This is especially true when you are trying to explain something that is complex, involves various relationships between “things” and may even be fluid in the sense that you are thinking out loud in the progress of explaining. This is what whiteboards were invented for in a physical meeting space. I love whiteboards, and I really loved that in the UK Microsoft offices we had a rich culture of writing on all kinds of glass surfaces available in the office. Not just formal whiteboards but as dry-erase markers and suitable surfaces were always nearby we could use glass separator walls, windows and other surfaces to be creative and communicative.
In my home office I found a great way to create writeable surfaces with the help of the magic whiteboard: Magic Whiteboard – Reusable Sheets Sticks to Any Surface – 25 Sheets (A1) Perforated Roll: Amazon.co.uk: Office Products (no affiliation, I’m sure there are others available, this is just the one I happened to purchase back in the day). This is a roll of white film that you can stick onto your wall (no glue needed as it will stick on with the power of static electricity) and voilá, you have a whiteboard on your wall. You just need to make sure that you don’t go outside the edges as that will lead to some heavy cleanup requirements. 😁 If you have it on a wall facing your camera, you may even be able to share the contents of the whiteboard into an online meeting. There are issues with the camera focal length and depth of field and also there are things you may not want to share with every meeting participant but want to keep on your whiteboard (although the sheets are easily movable too).
There is a great feature in Microsoft Teams Room Systems, where you can add a content capture camera to your setup and that will magically straighten the contents of your camera and also make you transparent for all those at the other end of the call to see what you have written on the whiteboard. Here is a video about it:
Not everyone has access to a Teams Room System in their home office yet, so we need to look for some other solutions too.
Microsoft Teams is integrated with Microsoft Whiteboard – the app. You can find it in the sharing tray in any meeting (where you share your screen or a windows on your screen) at the far right end.
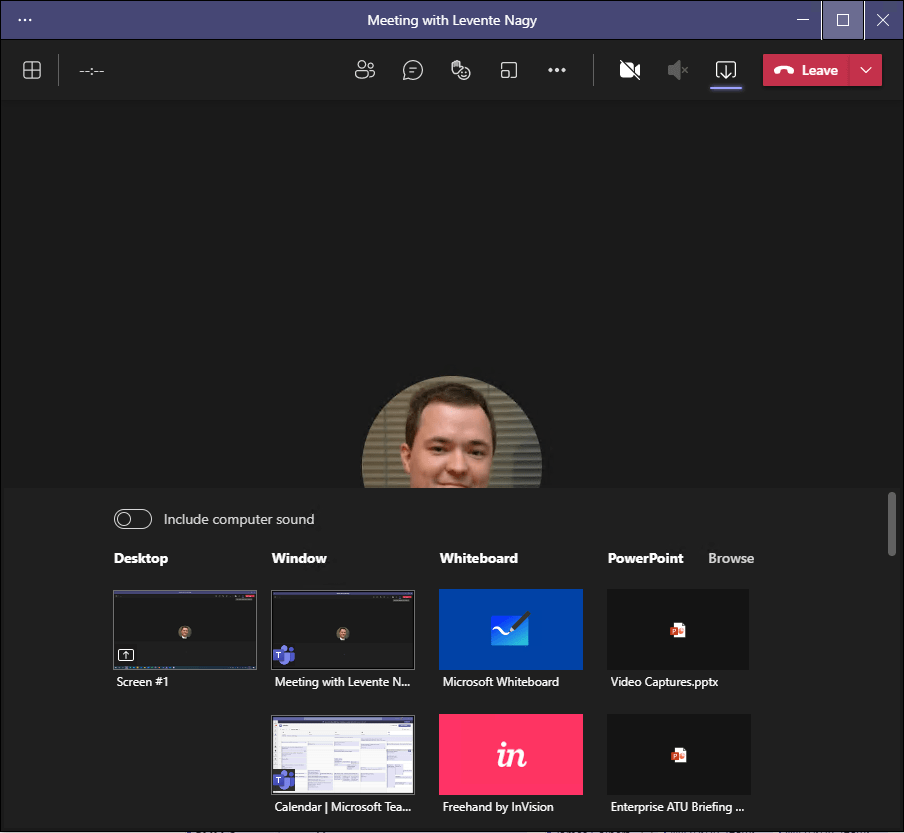
The single most important caveat with Whiteboard is that at this moment it does not support sharing outside your own tenant/organisation so if you are collaborating with people from outside, you may want to look further down at my other ideas. Nevertheless, if you are working with your colleagues and you can share internally, then Whiteboard is a great app built into Teams and it will let you collaborate with others on a nice big canvas.
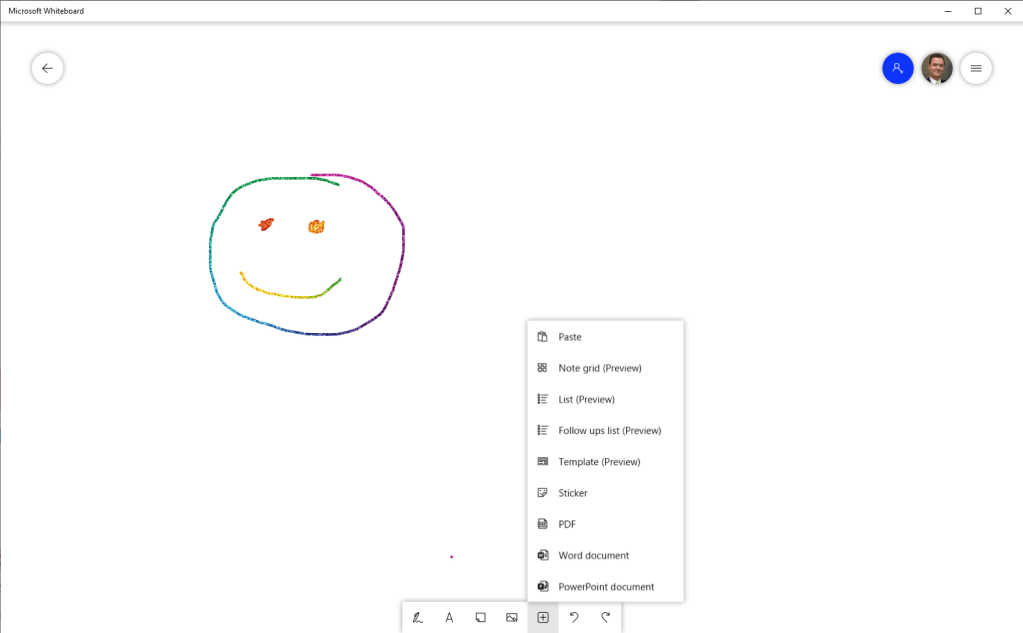
In the Whiteboard app you can use your mouse, your fingers on a touchscreen or your Surface pen to draw and the others will see it in the Teams meeting. They can choose to view it inside the app or they can also open it up in the separate app if they have that installed and that way they will have even more features available to them. The great thing about the Whiteboard app is that you don’t have to save, everything is automatically saved and shared and the whiteboards persist and you (and your collaborators) will be able to come back to the boards later too.
Speaking of automatic saving and coming back to your drawings… Whiteboard for the moment lacks the capability to be shared with people outside your organisation (it is in development). One of the other ways you can use whiteboard-like features that you will also be able to share is OneNote. Arguably it also has many more features for sharing and structure and some more. You just open OneNote, share your screen in the meeting and you can draw away. If you want to enable other meeting participants to draw together then you can use a notebook that has been shared across and they can open on their machines, follow along and contribute. (Note: the unit of sharing in OneNote is the whole notebook so make sure that you are ok to share all that content with participants or create a new blank notebook for the collaboration).
Both with Whiteboard and with OneNote it is good to have a second device that you can lay flat on the desk in front of you to be able to draw comfortably while still having the call window on a primary machine in front of you. You can just join the same meeting from the second device and add it as an additional device without audio or video.
The final tip I wanted to share in an article that is already quite long is about Office Lens, the app on your mobile that will enable you to take a photo of a physical whiteboard (or a piece of paper), straighten it, even the lighting and share it with via e-mail, chat or other means. It is a great way to take offline content with you and share with your collaborators. Here is a short video demonstrating Office Lens:
That’s it for now – do you have any tips for whiteboarding that you have been using? Add a comment!
